Build Inspiration
Muse Masquerade
The [Muse Masquerade] muse is an annual benefit for the Carrack carrack modern art gallery, a local, artist-centered space. It is an evening of costumes, artist sideshows, dance performances, and other masqueradey fun. I’ve been the last few years and it has been a great excuse to try my hand at making masks.
The Pumpkin King
The first time I attended this even, I decided to go as Jack Skellington, from Tim Burton’s, The Nightmare Before Christmas. He is a fun and interesting character with a great look and presented an interesting challenge without being too over the top.
Research and Technical Background
Paper Mache Masks
Before I go any farther, I’d like to point out the the technical aspects of building this mask are all from the excellent resources available online at Ultimate Paper Mache. Jonni Good’s methods made for a straightforward process and great results. In particular, I’d like to highlight:
- Her use of shop towels for fiber structure, rather than newsprint. The towels are strong and stretchy and do not fall apart easily when saturated.
- Recipes for a light and strong paste that cured quickly (but not too quickly) and made for a nice, white finish.
- Her recommendation for using Super Sculpey as a sculpting medium for the mask form. I didn’t follow this recommendation and wish I had. More to come on this below.
I decided to buy her book, How to Make Masks, both to support her extensive, free, online work and to have the recipes and tips handy when my hands were messy and I didn’t want to touch my phone or computer.
Reference Material for Jack
Watching the movie was a requirement, of course. Then there were the searches for reference images online. One thing I quickly realized as I researched Jack’s look is that despite being a skull, his face has a lot of expression and variability throughout the movie. Generally, though, his face was very round, with large oval eyes, except in extreme poses. His mouth was generally a wide, even smile.
And so, I decided on a neutral expression that would be pretty easily recognizable as my chosen character. This expression also had some good feature definition, which was important, as he is all white. Good depth of features would also leave more room for my nose. For wearability and visual appeal the mask would end at his mouth.

Neutral, Friendly Jack
Method
Sculpting
To form the round face of the mask, I used an elementary school gym ball as a base for the mask form. The author recommends creating a custom form, shaped to fit your face, but I chose not to do this, as it wouldn’t have worked with the round shape I needed for a recognizable mask.
For sculpting medium, I chose DAS Modeling Clay, an air dry clay that was easy to work and is bright white. Despite being a nice medium to work with, in the end, I should have followed the instructions to use the Super Sculpey. The DAS clay stuck to the inside of the mask and didn’t come off of the back cleanly. This led to a lot of cleanup work and parts of the clay remaining in the mask for good. The Sculpey is pricier than the DAS, but is reusable and had better releasing properties. Additionally, I had to take care to keep the clay covered so it didn’t shrink and dry out prior to the application of the paper mache.
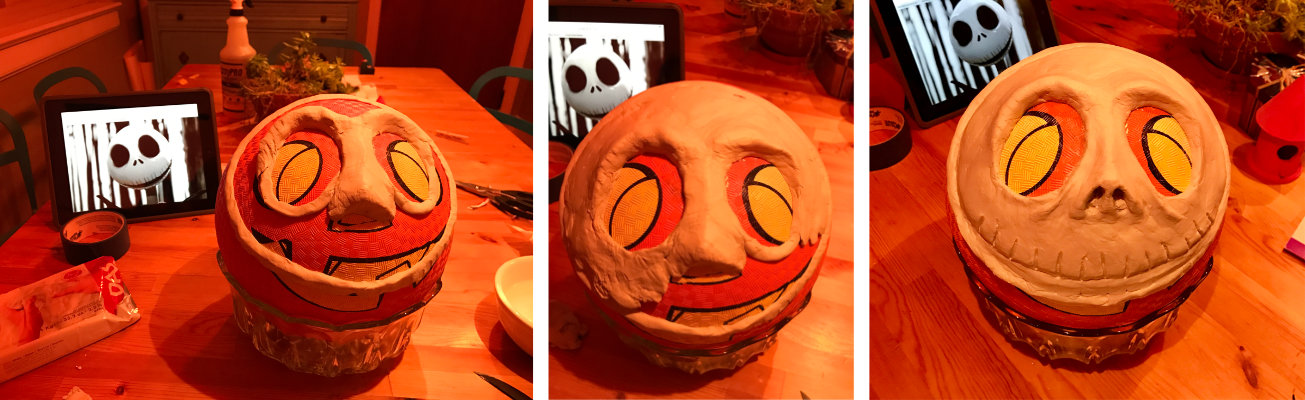
Sculpting Progression
Overall, I enjoyed this phase of the build much more than I expected to. It had been a very long time since I’d done anything like it and had not had a great deal of success in the past. In this case, the end result was just what I wanted.
Paper Mache
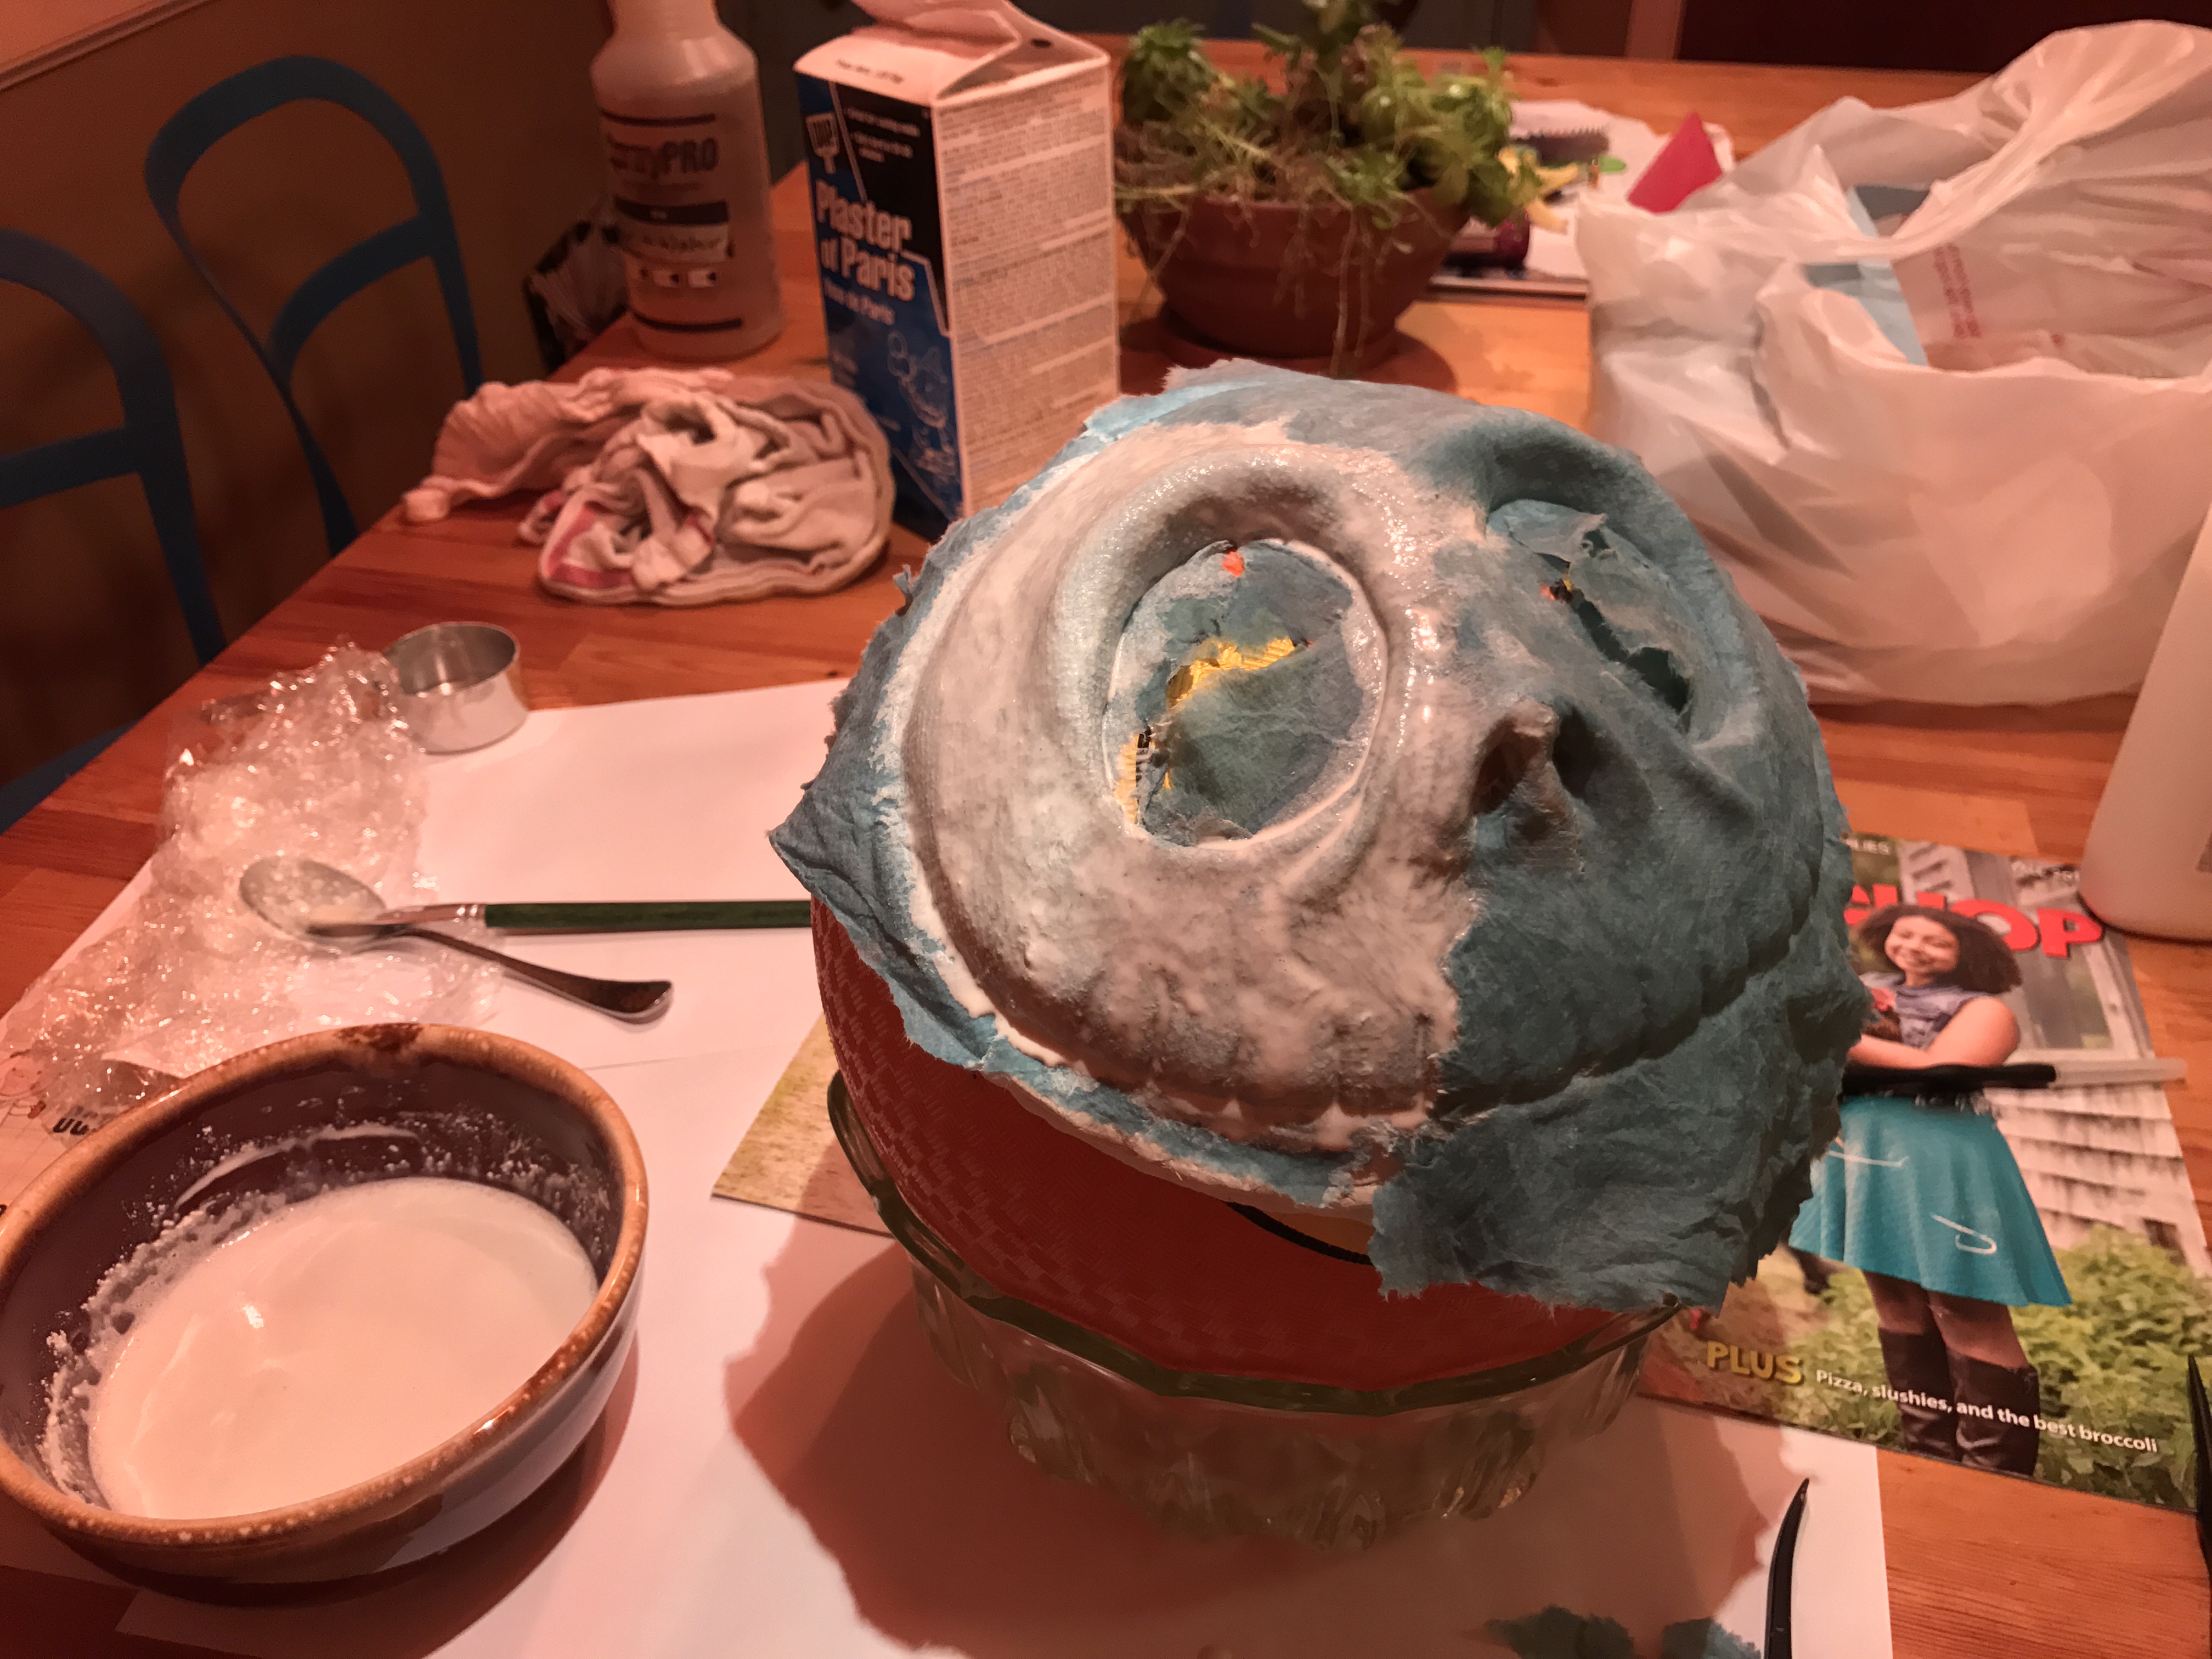
Applying Paper Mache
For the most part, laying down the paper mache was pretty straightforward, following the procedure described in the Masks book. I went with the recommended two layers, which resulted in a sufficiently strong, fairly flexible mask. Likely, a heavier application of the paste would have helped reduce some of the flex. The book’s tip on tearing the edges of the shop towels to get a rough edge is a good one, as the straight, cut edges of the towels are very apparent if you don’t tear them.
As mentioned above, the air dry clay stuck to the inside of the mask. This would likely been less of an issue if I’d either used more vaseline on the clay (as a release), or used the sculpey that was recommended, as it holds together better. I used a variety of pointed tools to dig the clay out as best I could. Clay modeling tools worked well, here.
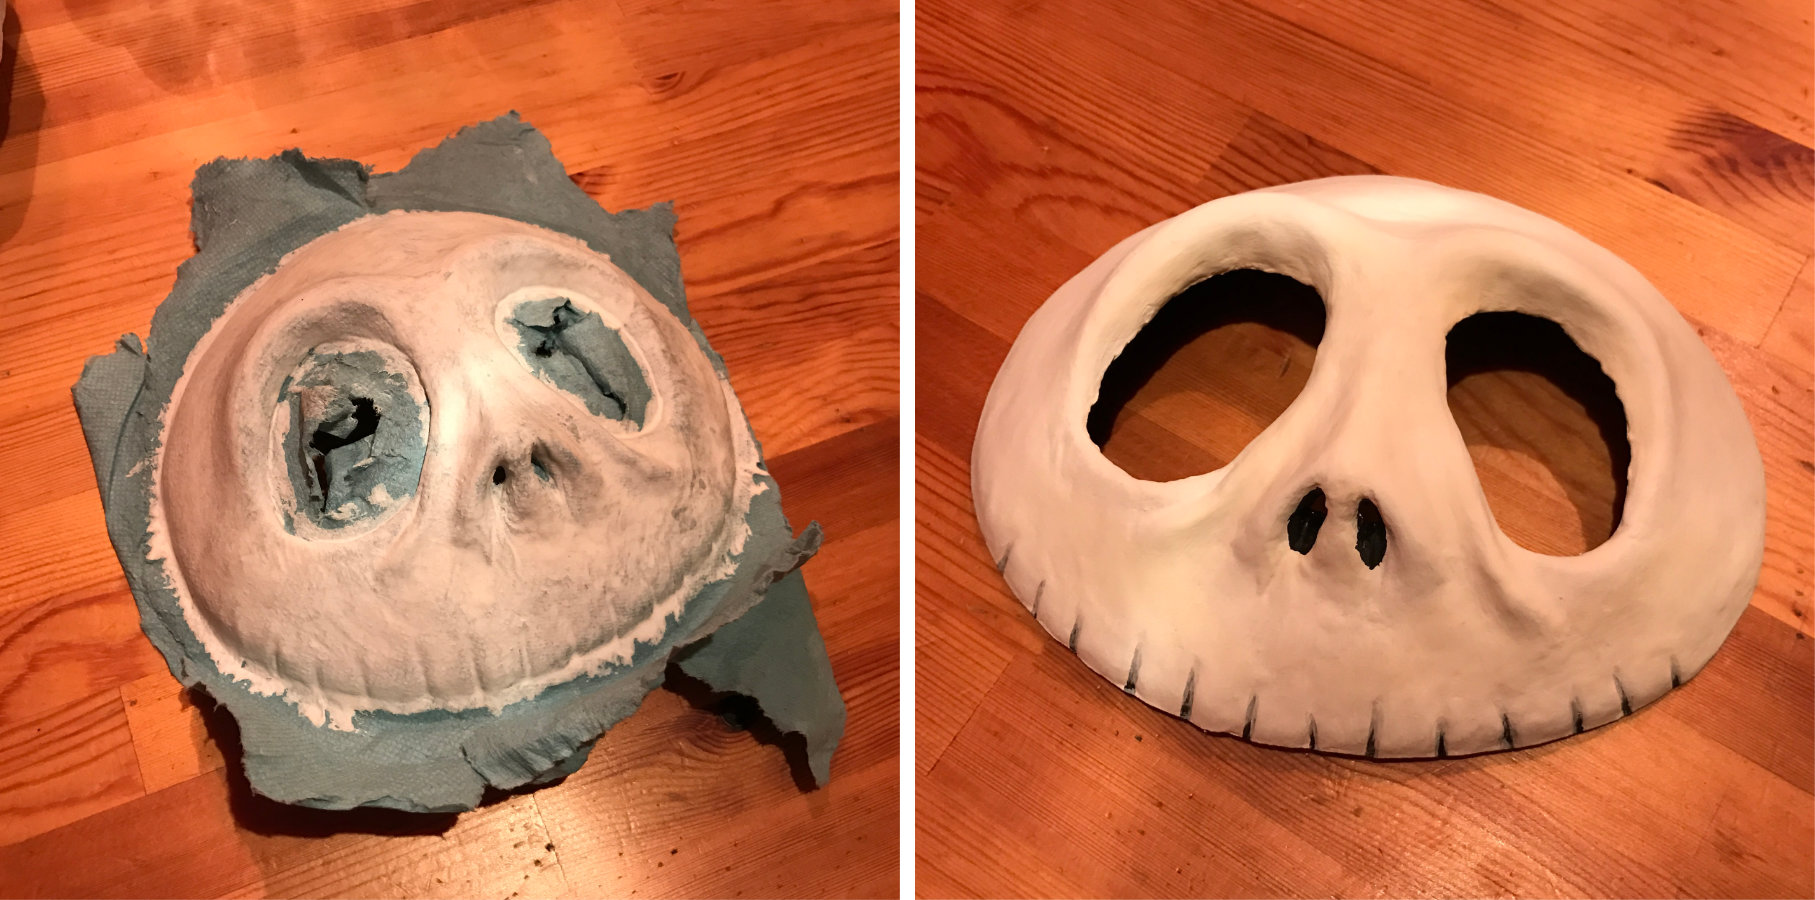
Trimming
One other point to note is the trimming required. I didn’t quite understand the instructions in the book, but as much as you can, create a neat edge for your mask while you lay down the paper mache. You can easily tear the paper towels while they are wet and fold any excess back onto the mask. This will blend the excess into the mask and leave you with a folded edge. Otherwise, you end up with a big job of trimming and it’s easy to crush and soften the edges when you do that, making them weaker and more prone to flaking.
Finishing
This mask didn’t require a lot of decoration after forming, so the finishing work was pretty pedestrian. I did some gentle sanding between coats of paper mache and more after both layers were down and the paste was fully dry. Keep in mind that the structure is thin and won’t stand up to a lot of abrasion. You will end up with some sharp points in places, so a 220 grit sandpaper (or similarly fine) is helpful for those. Just don’t expect that you’ll be able to do any shaping with it - that all needs to happen while things are wet.
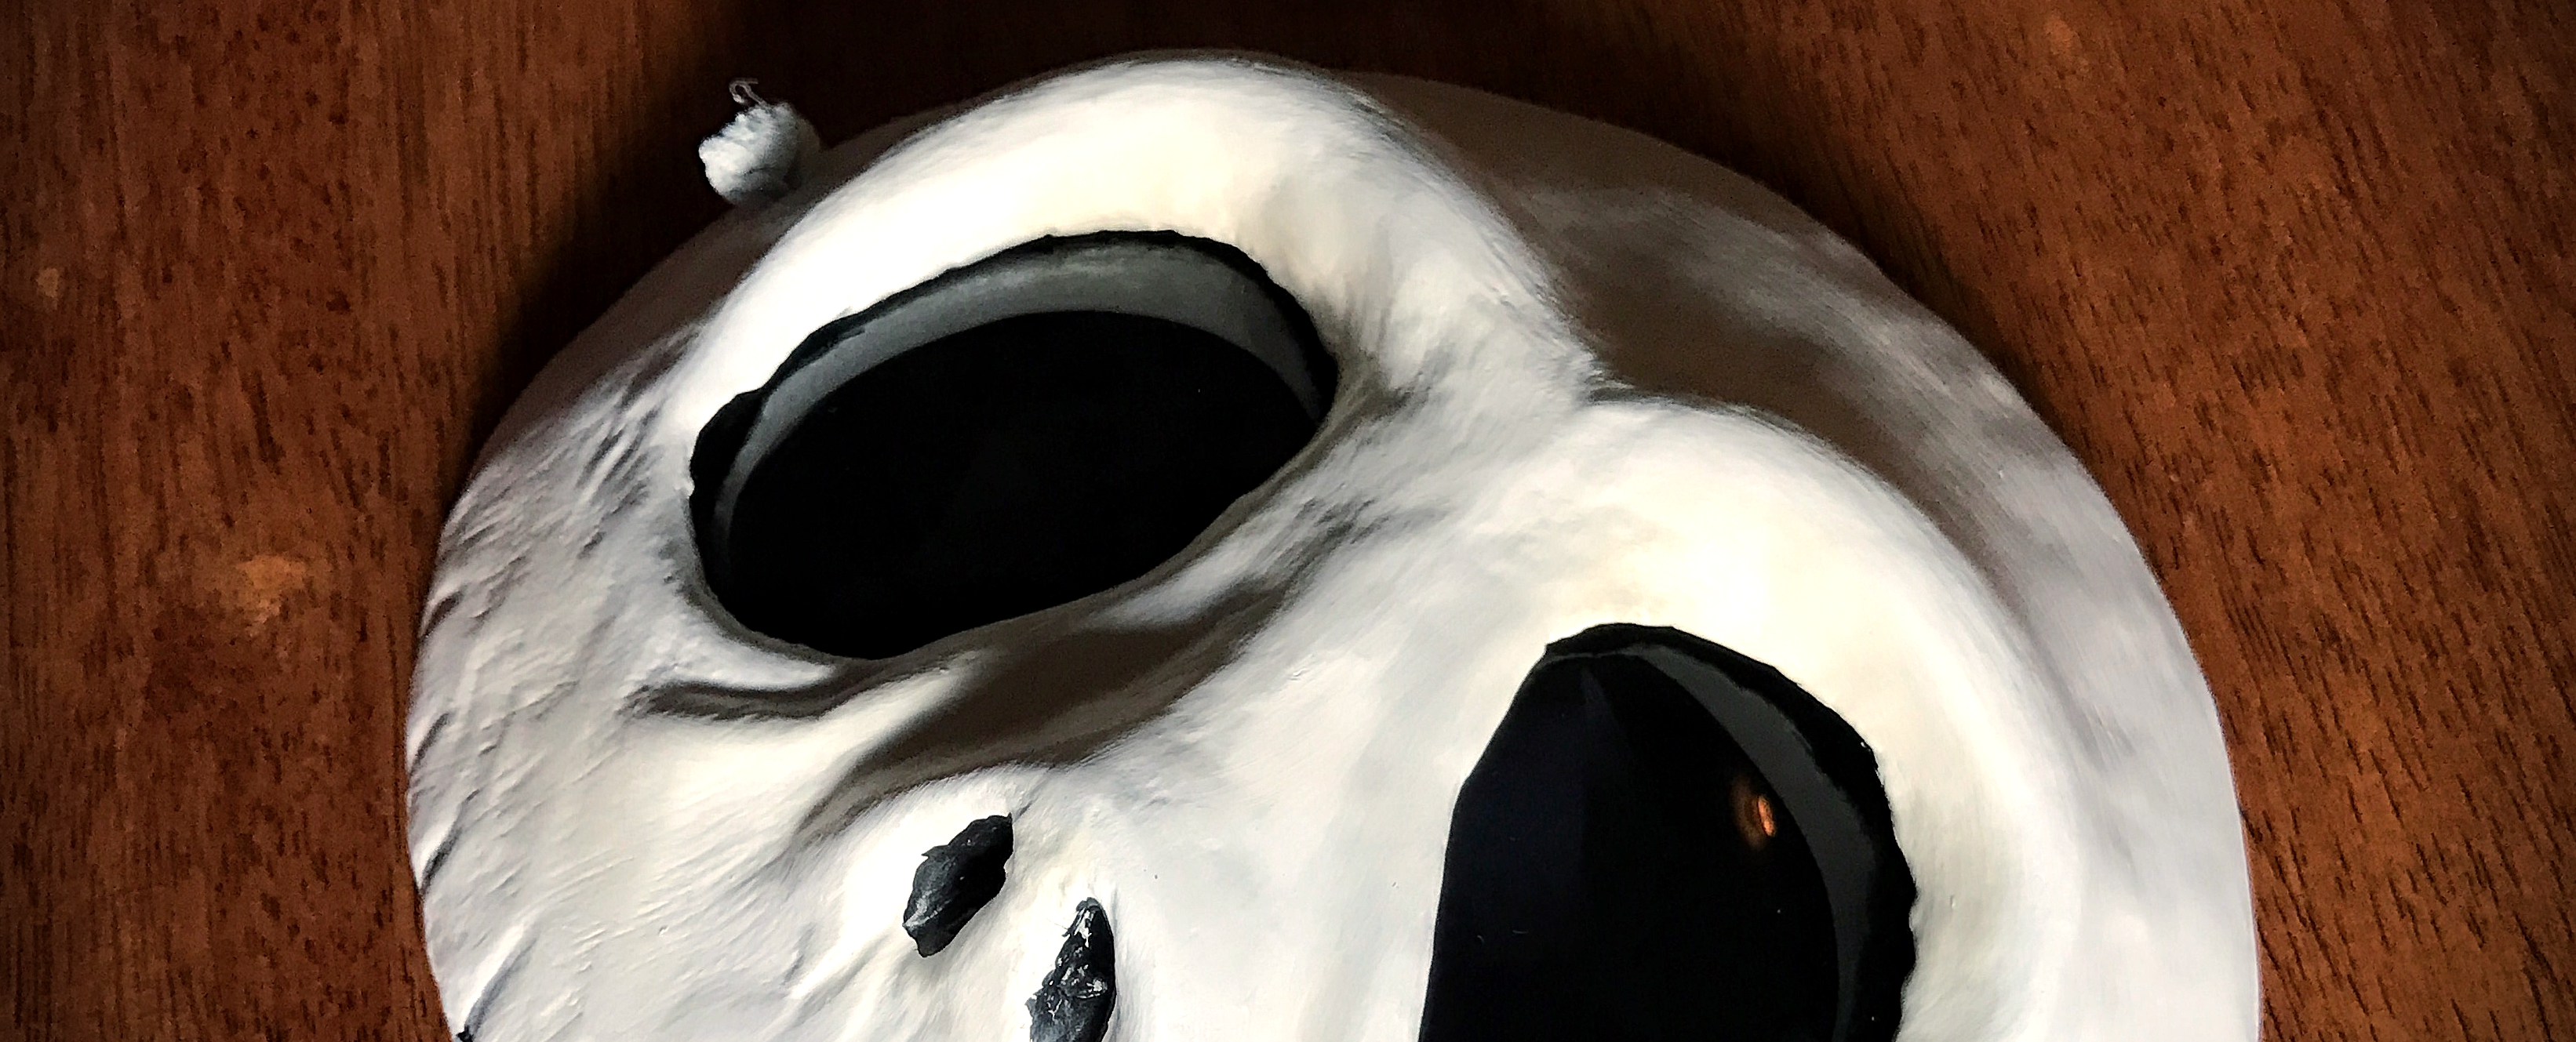
Completed Mask
Another warning from the book that I didn’t heed was that at this stage, the materials are still porous and will absorb water and the surface will get slick and smear. I encountered this trying to clean up the sanding dust with a damp paper towel. Instead, use a piece of tack cloth, which is slightly sticky without being wet - it’s available at any home improvement store or wherever painting supplies are sold.
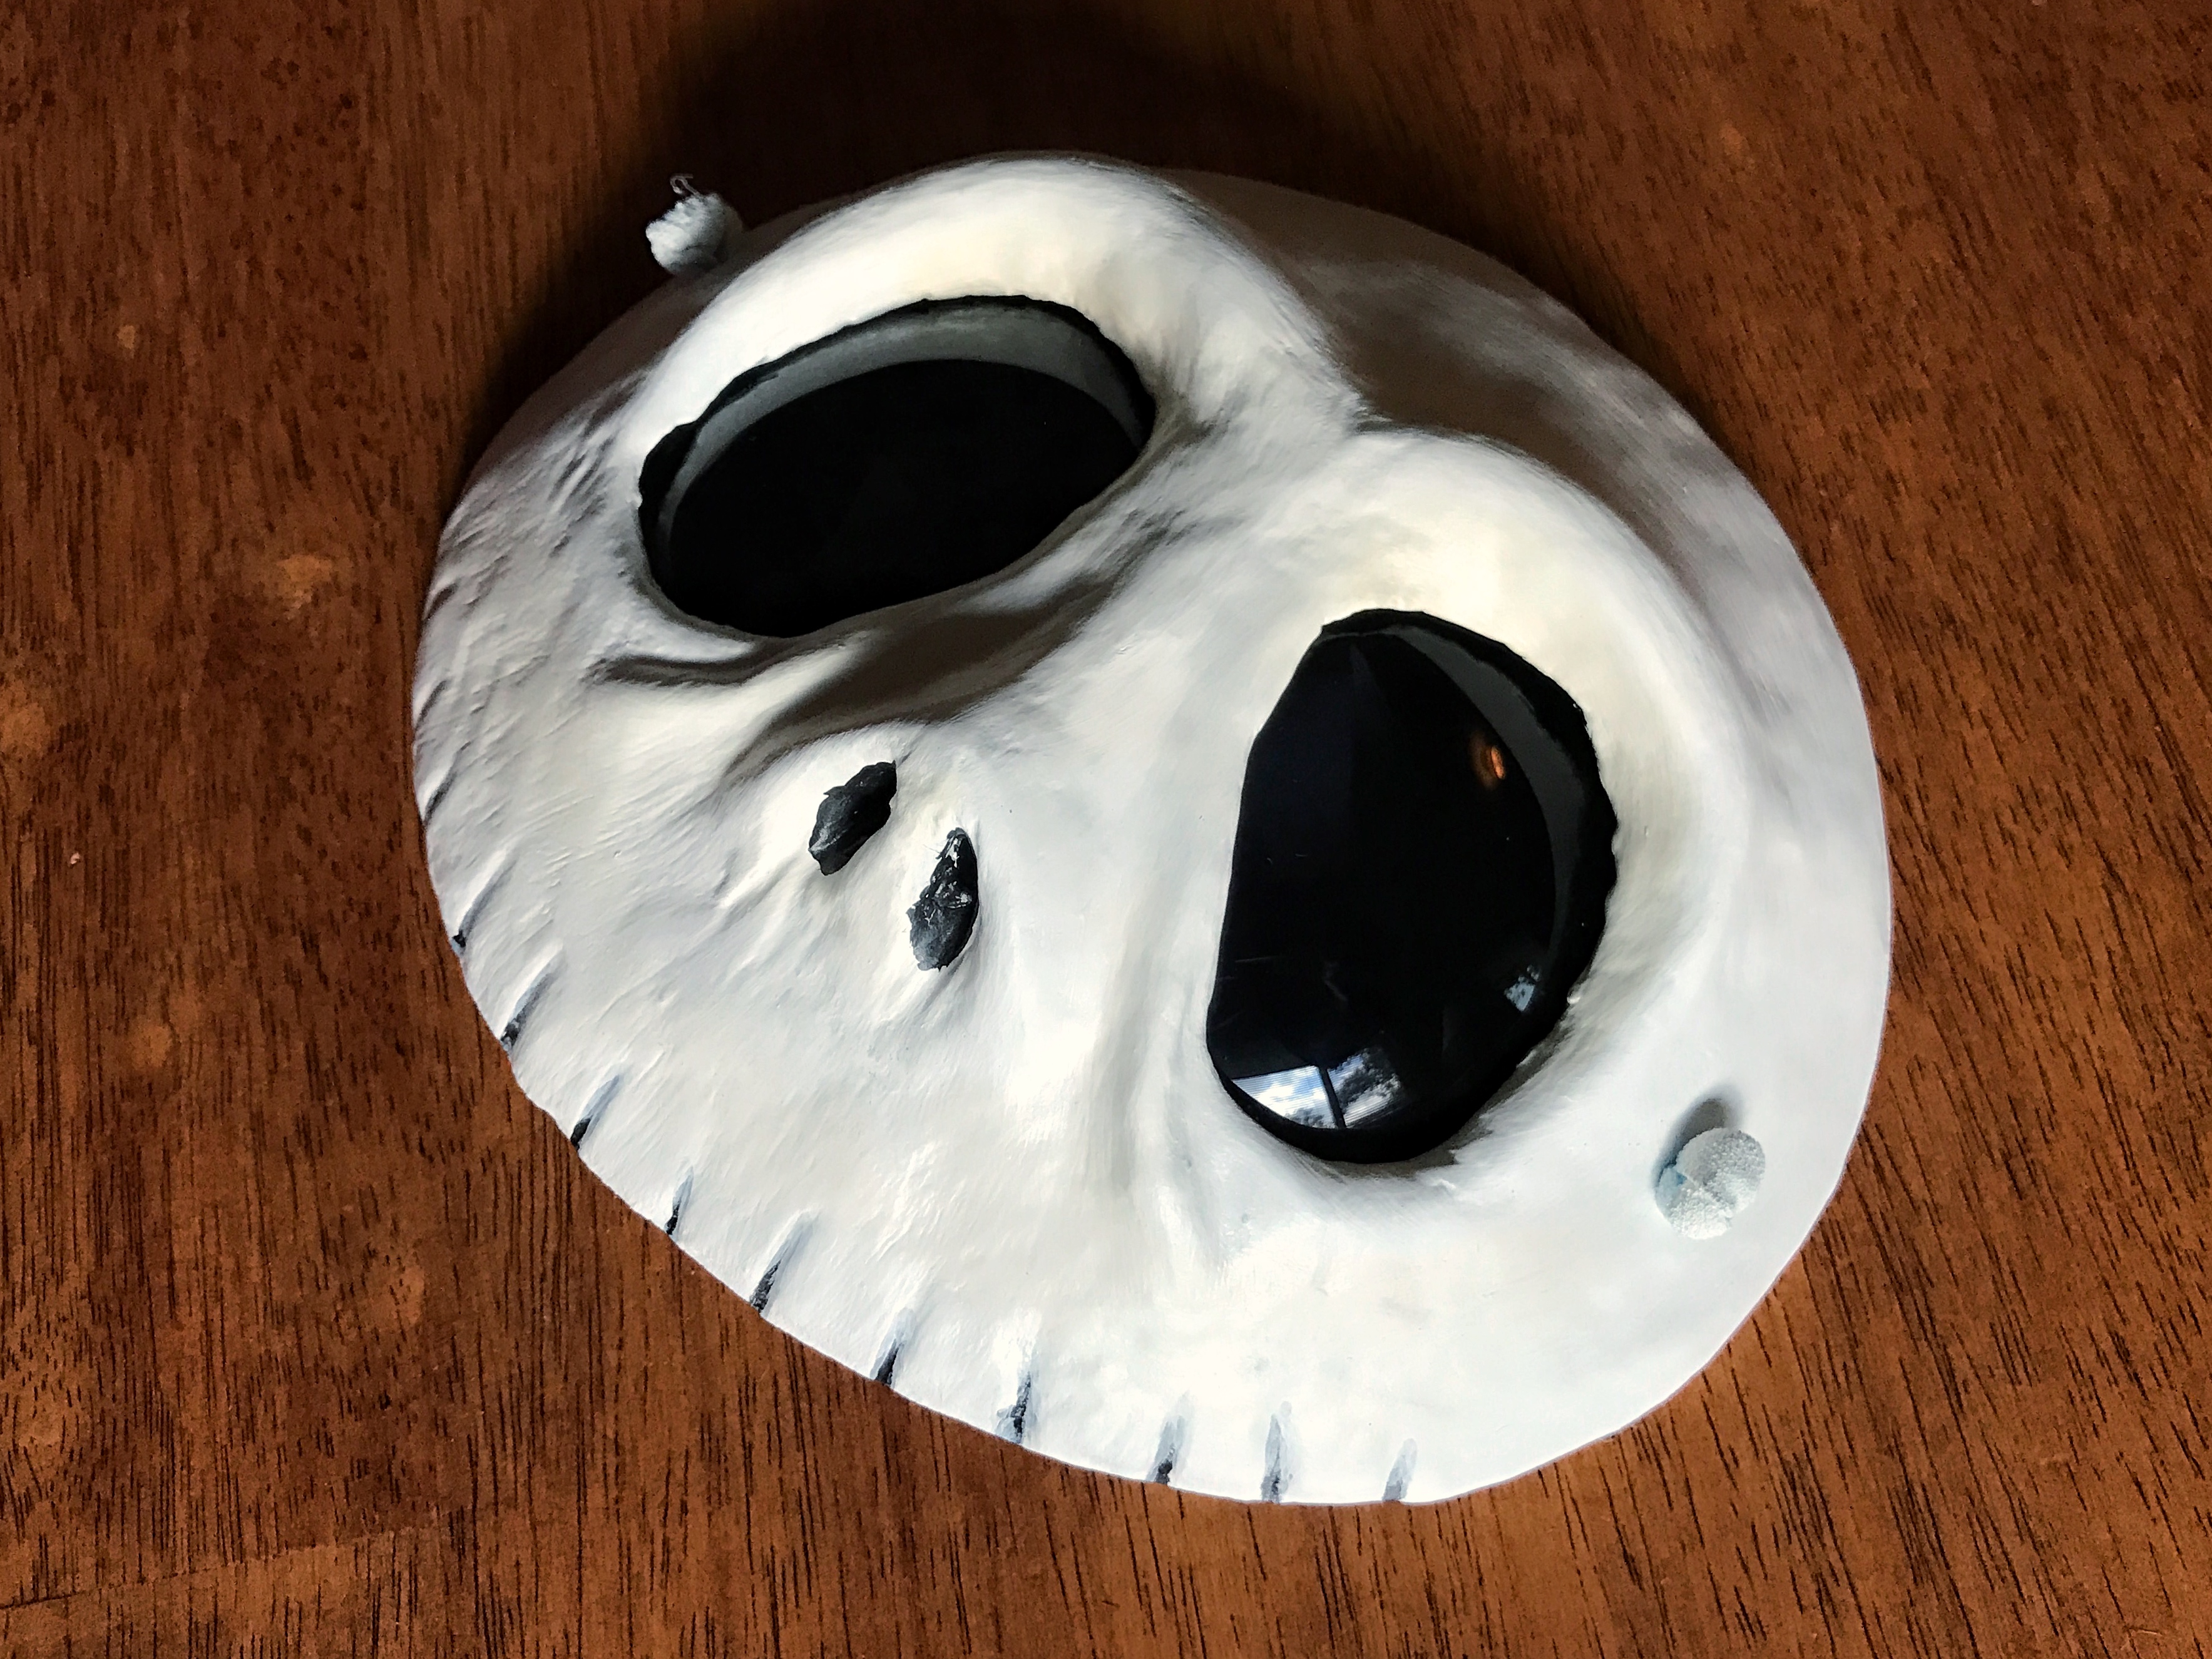
The first step in sealing the mask was to paint it inside and out. For this, I used craft grade acrylic paints. I wasn’t doing anything super fancy and cleanup on these is very easy. Keep in mind that this introduces water into the mask structure, so make sure it is supported in a way that will not let it deform as you apply the paint. You’ll have a bit of time while you apply the paint where it remains rigid. I found that during drying of the first coat was when it needed to the most support. Dry thoroughly between coats, again, to avoid deforming it.
On the face of this mask, I used a two shades of white to give it a little bit of depth. Between the teeth I used a dark gray and a black. The inside of the mask was painted fully black. This is a natural stage to do a lot of decoration, but in the case of accurately representing Jack, I stuck with a pretty plain paint job.
After the paint had dried, I varnished the mask, as instructed by my book. This sealed the mask from moisture and gave it a nice finish. Here, I used a spray can varnish that I picked up at the home improvement store. This mask received the least glossy finish available, as a matter of preference.
Jack’s blank, black eyes were going to be a challenge, given how large they are. I couldn’t just leave them as openings and let shadows give me that depth, as the sockets were just too large and would expose too much of my face. My solution to this problem was in a pair of cheap, dark sunglasses. After hunting down a pair in an appropriate size, I popped out the lenses and used hot glue to attach them inside the eye sockets. In evening and indoor light, this was perfectly sufficient to achieve the black-eyed look I wanted. In the end, it proved to be pretty dark from the inside of the mask and was one of the difficulties I had in wearing it for very long.
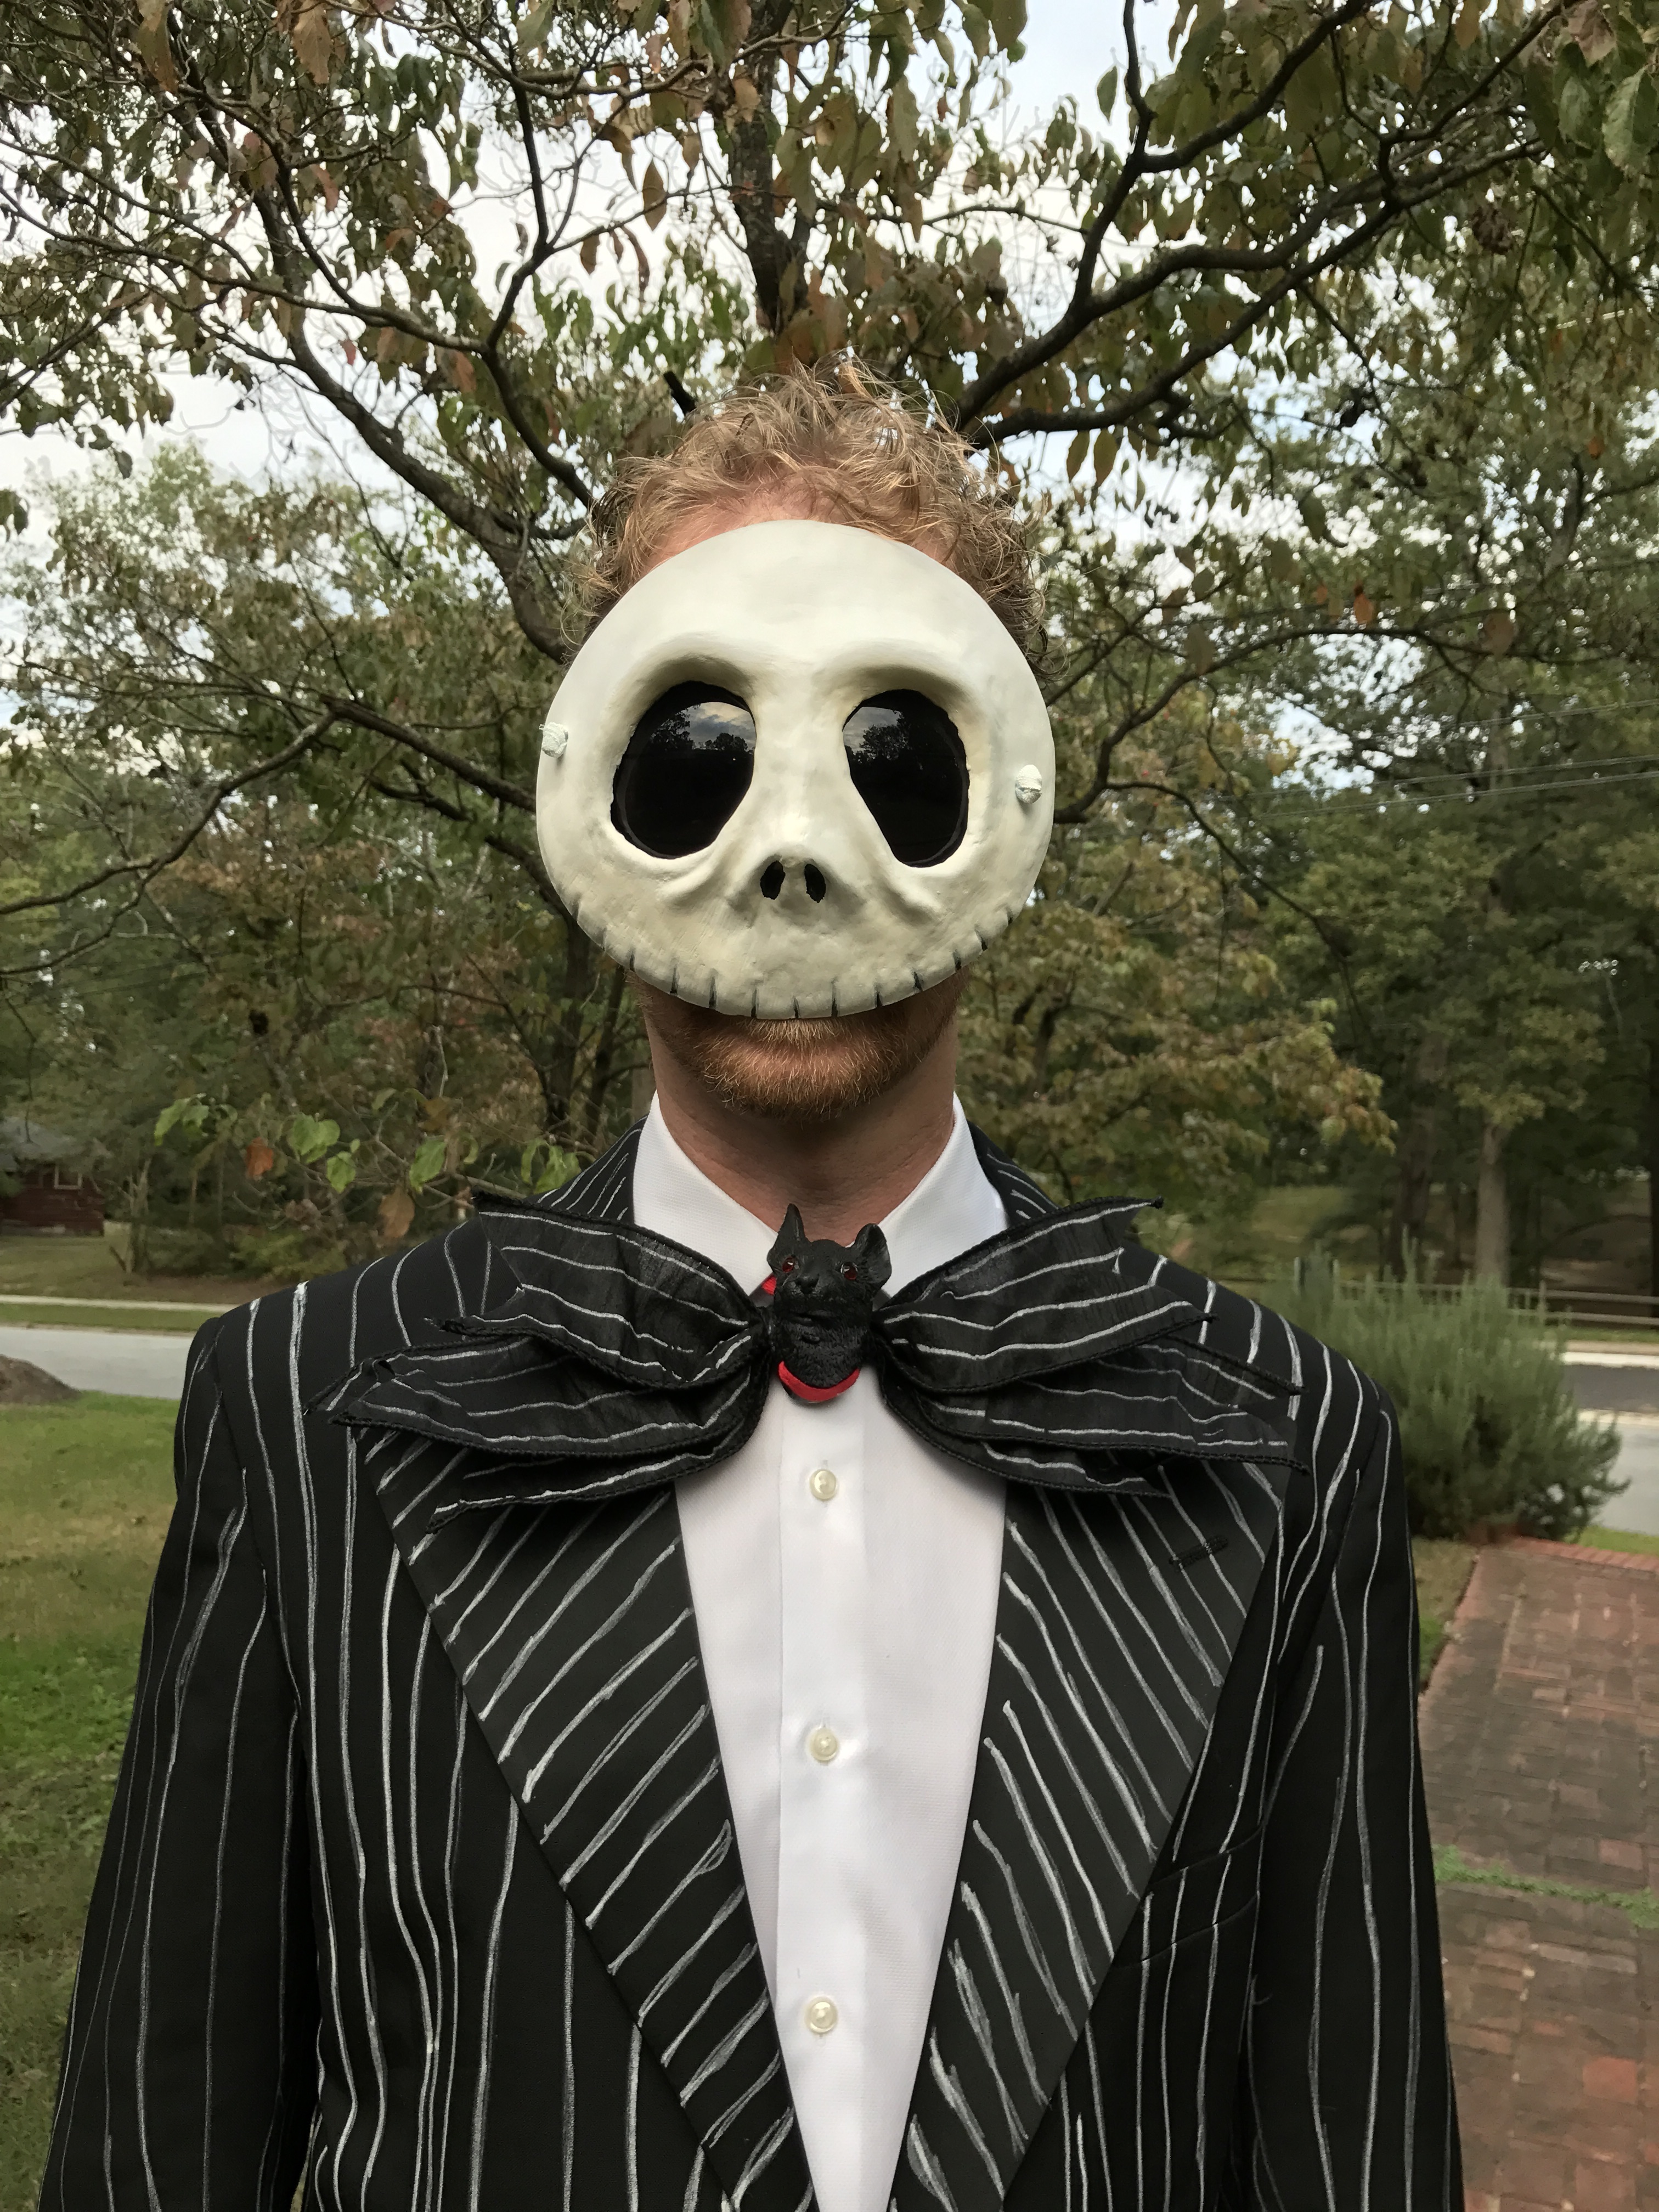
Full Costume
I don’t remember at what point I made the holes for attaching the band to the mask. I think it was after the first coat of paint had dried. I used a 1/16" drill bit to make a pilot hole, then a 1/4" drill bit to make the size opening I wanted. A piece of scrap wood supported the inside of the mask while drilling, to prevent crushing the structure. The band was a length of 1/2" elastic that I threaded through the mask from the back and knotted into a ball the front. In hind sight, I think that hot gluing it to the inside of the mask would have been better. That or using a ribbon on either side, for a more traditional look.
With the help of my wife, I striped a second hand suit with white fabric markers. A bow tie was created with some ribbon that I striped and the head of a toy rat that the kids no longer played with. I think his is a bat, but the rat was close enough. I added some glass “rubies” for eyes to complete the tie.
Final Thoughts
I’m quite happy with the look of the finished mask, how light and rigid it is, and how straightforward the build process was. Unfortunately, wearing it was a bit difficult. Having chosen to forego the form creation that would have matched the shape of my face, I ended up with a lot of pressure on my nose, due to how flat Jack’s face is. Also, the darkness of the sunglass lenses made it difficult to see while walking around inside during the party. The mask ended up on my forehead or hand for much of the party. Lessons learned for the next mask.
Share this post
Twitter
Reddit
LinkedIn
Pinterest
Email